Introduction:
Once I decided I was scratch building from aluminium, having something to bend sheet metal was essential, but buying a commercial brake wasn’t affordable, nor did I have the space for one. I had seen some different home made brakes online, so like those, I thought I could build one that attached to the bench. In this article, I’ve tried to demonstrate how I went about it, including the materials I used, mistakes I made, and how I got around them. Whether you’re an aircraft homebuilder or just a DIY person, you should find this helpful.
Building a Homemade Bending Brake
Manufacturing parts for a homebuilt aluminium aircraft requires accurate bending of sheet metal and your bending brake needs to perform the bends nice and straight, while having the required 3mm radius. The main challenges were to facilitate the very long bends in the wing rear spars, almost 12 feet long. I knew if I could sort that out, the other parts would be easier.
Materials and Tools
Materials
- 3 x 3.6m x 75mm angle iron
- Steel piano hinge
- Pop rivets
- 150mm 5/16″ bolts, nuts and washers
Tools
- Welder (I only had a cheap gasless mig at the time, but it sufficed)
- Angle grinder
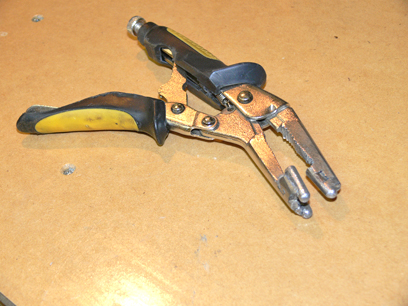
- F cramps
- Various drill bits, countersink bit, spanners, sockets and other hand tools as required
The Building Process: Step-by-Step Guide
Frame Construction and Assembly
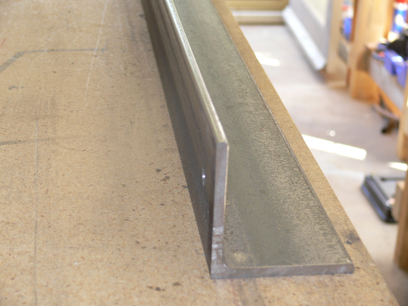
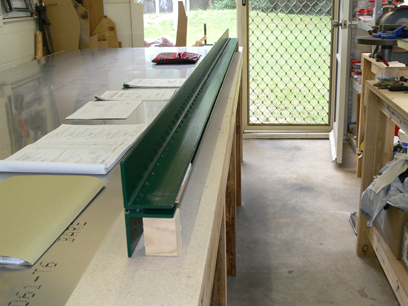
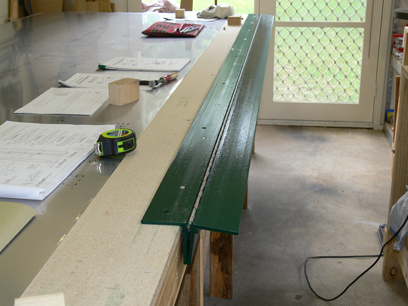
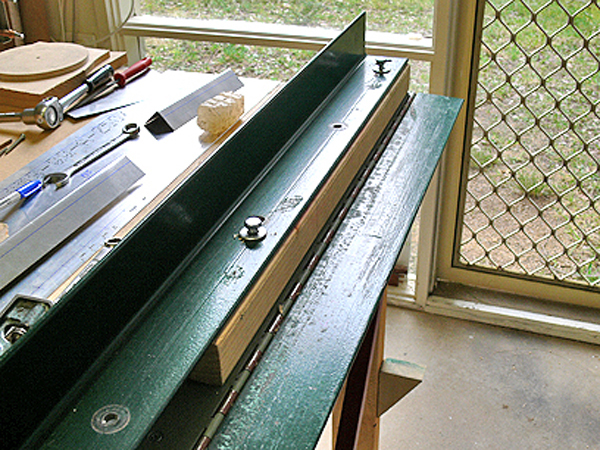
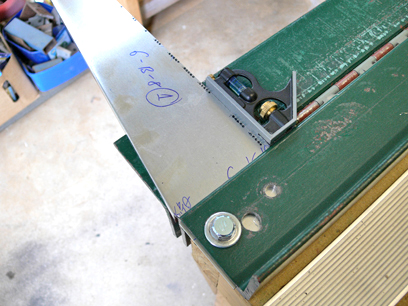
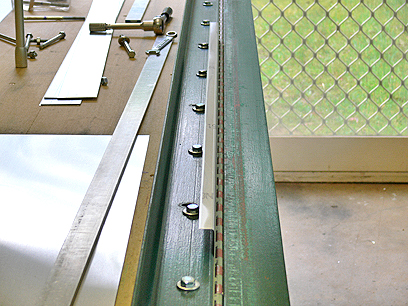
As you will see from the photos, the tool is made from three lengths of 75mm angle iron. The base sits on the edge of the bench, flange down, with a second piece of angle hinged to it, making a sort of T shape in the resting position. The third piece then rests on top of the base and is used as the bending lip. You can see 1/8″ round on the top and bottom edge, providing the radius necessary for aluminium bends.
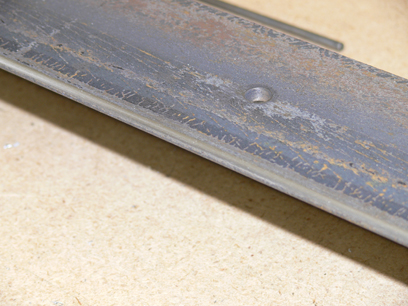
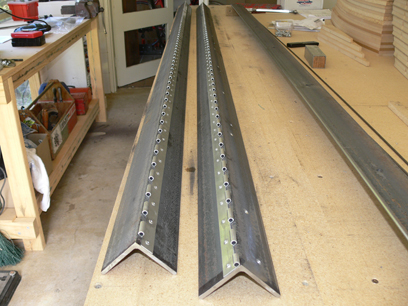
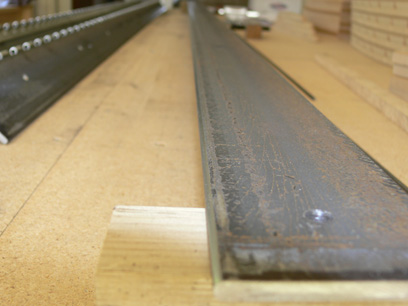
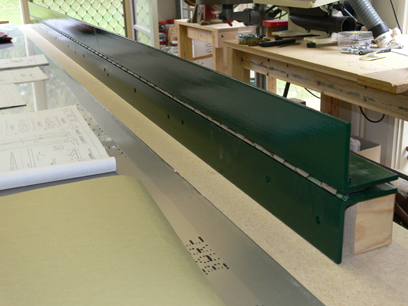

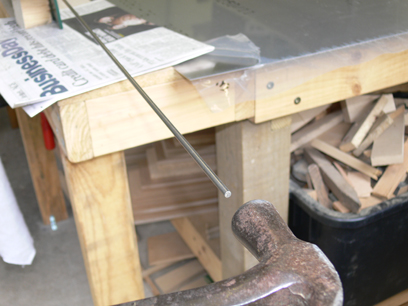
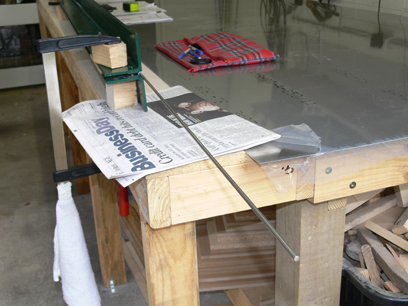
The brake has a series of holes drilled along the top flange, running through the bottom and the bench itself, allowing long 5/16″ bolts to clamp it in position with the sheet in between. I also made up a simple handle from some 1″ square steel tube. All should be evident in the photos.
The first step was constructing the brake’s frame. It’s really just a matter of cutting the three lengths of angle to identical sizes and cleaning up any burrs.
Installing the Piano Hinge
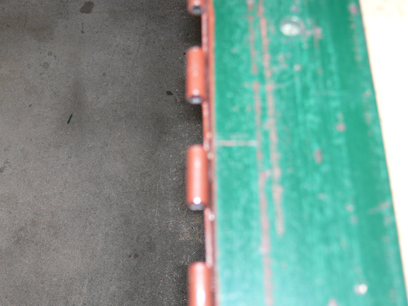
Then you can go ahead and fit the hinge to the base piece of angle and the bending section. I took the pin out of the hinge to separate it into two halves and marked out evenly spaced holes in the hinge leaves and pre-drilled them with a 3/32″ drill. Then line up the cutouts between the knuckles along the edge of the angle. Cramp them in place and drill through the pilot holes and through the steel. As you would when riveting any aircraft part, open out the holes to 1/8″, de-burr and rivet the leaves to each piece of angle. Standard pop rivets are adequate here.
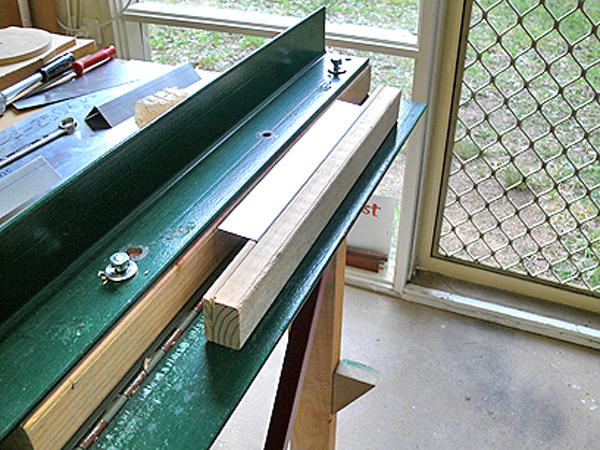
Next, I placed the hinged plate on top of the base plate, using two thin pieces of plywood to match the spacing of the hinge knuckle, ensuring it sat flat. A small amount of oil to the hinge pin, I tapped it in with a hammer and wooden block. The wooden block is just to prevent peaning over of the pin end. You have to keep an eye on each knuckle as it goes through making sure it all lines up.
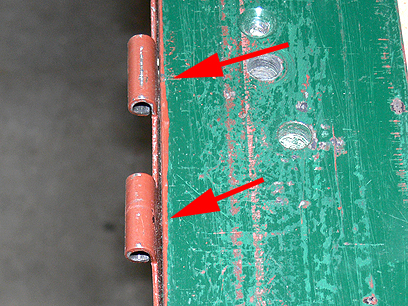
Initially, I used aluminium piano hinge, but I encountered problems when bending thicker materials. The hinge pulled away from the base plate, which indicated a need for a stronger hinge. I replaced it with a more robust steel piano hinge, which significantly improved the brake’s performance. The replacement involved removing the old hinge, filing the base plate to ensure a flush fit, and tack welding the new hinge into place for extra stability. That’s where the welder came in.
Adjustments and Fine-Tuning
After the initial assembly, I noticed that the brake was binding slightly when tested. To fix this, I dismantled the brake and removed the arris from the fold plate. I drilled out an entire row of pop rivets and ground down the edge in 1/16″ increments until the binding was resolved. These adjustments really helped in achieving smooth operation and preventing any damage to the parts.
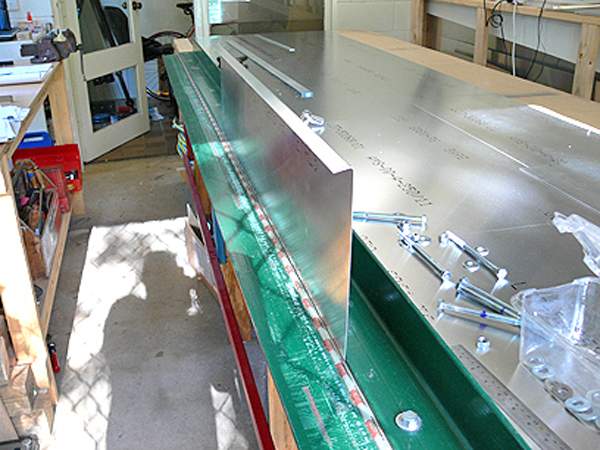
I also had to consider the brake’s limitations. After testing, I found bending anything over 0.025 inches (25 thou) could cause the sheet to slip while bending. I found that if I left excess metal on the flange in the clamped part of the brake, I could drill through the sheet and re-insert the bolts. This would prevent slippage and it was just a matter of trimming the excess off later.
Final Touches and Testing
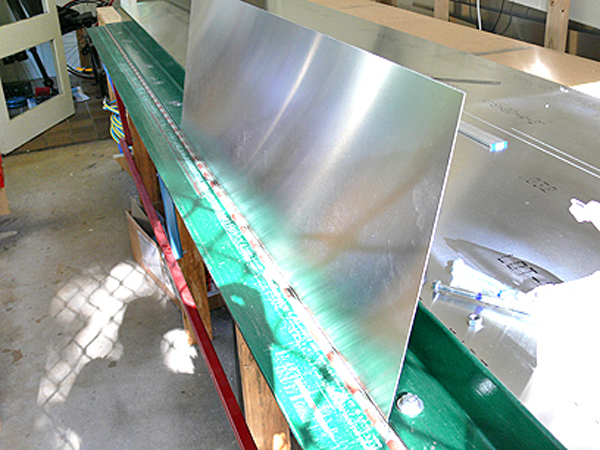
With the structural adjustments completed, I applied a top coat of paint to protect the brake from rust. Over time this has scratched up pretty badly, but it has done the job of preventing corrosion. After reassembling the brake with the newly stiffened hinge, I performed a series of test bends. I was very happy with the results—the bends were precise and straight, confirming that the modifications had addressed the earlier issues.
Lessons Learned from Building a Bending Brake
Building this homemade bending brake reinforced several valuable lessons:
- Patience: Like anything you build, take your time to be accurate and don’t rush. We all know how you can stuff something up trying get it done quickly, only have to do it all over again.
- Material Limitations: This is not for bending heavy material, it’s prime purpose is to bend light gauge aluminium sheet for aircraft construction. Don’t ask too much of the tool and it perform your aluminium bending well.
- Mistakes: Naturally some trial and error was involved, such as initially using a hinge that was too light, but this is to be expected when creating something from scratch, adjusting and tweaking is part of the process.
Conclusion:
Constructing my own sheet metal bending brake was well worthwhile, not only did I save money and gave me a tool tailored to my specific needs, it was a good lesson in persistence. At the time I was living in quite a remote area, so I couldn’t easily get help, I had to work it all out for myself. If you’re considering building your own tools, remember that challenges will arise, but with perseverance and a bit of creativity, you can create something truly useful.